HyperFluxCMS
Fast. Flexible. Free.
HyperFluxCMS
Image gallery
Manage the images of your web site
Learn how to manage your site's images. Upload images, get information, and delete them.

In the HyperFluxCMS Control Panel, go to the Image Gallery.
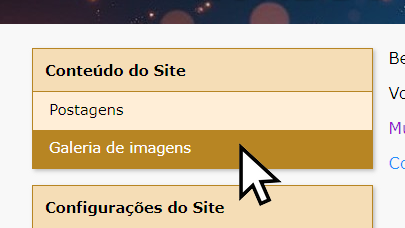
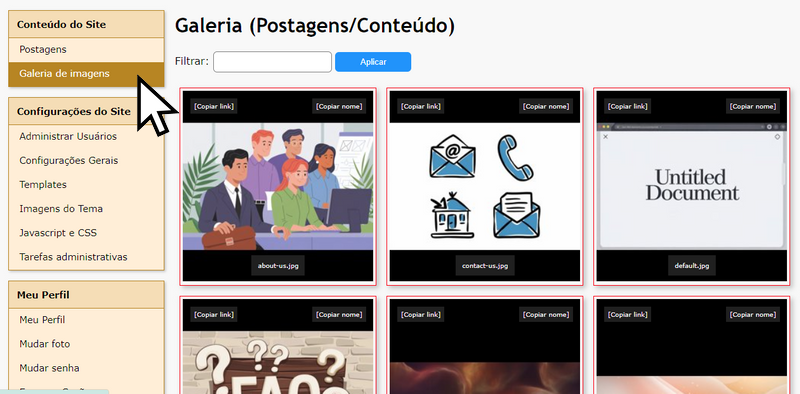
You will see a frame with thumbnails of the images already uploaded to your site.
To see an image in larger size, click on it. Then click the "X" in the upper right corner of the screen to close and return to the listing.
To delete an image, click on it. It will appear large on the screen. Click "Delete" in the upper left corner of the screen.
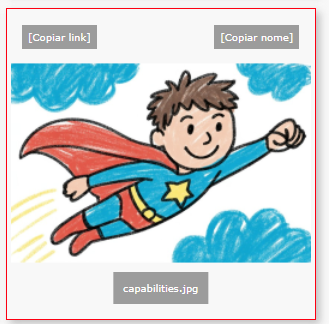
To copy the link to the image for use in a publication using HyperCode, click "Copy Link". A text like [img src="/gallery/my-image.jpg"] will be copied to the computer's clipboard and can be pasted into the post code you are editing.
To copy only the image name, click "Copy Name". A text like my-image.jpg will be copied to the computer's clipboard and can be pasted into the post code you are editing.
Uploading Images
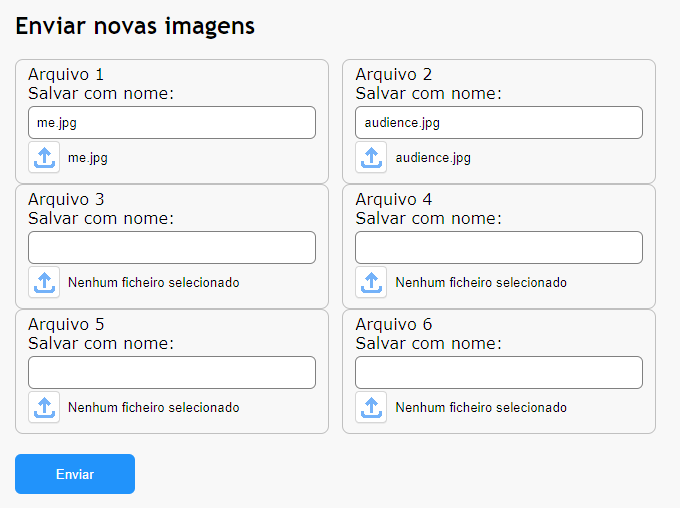
To be able to use images in your posts or as their cover, you must upload them to your site, using the fields at the bottom of the gallery.
The version of HyperFluxCMS current at the time of editing these instructions allowed uploading up to 6 image files at a time.
Note that currently, images in GIF, PNG, JPEG, and JFIF formats are supported. If the image is in a different format, you must use an editor or converter to save it in one of these formats.
Also note that when uploading each file, you must choose the destination file name on the server. There are some limitations. The accepted characters are unaccented letters, numbers, and the signs -, _, and .. Spaces and symbols like #%@ and others are not allowed.
When selecting a file for upload, HyperFluxCMS automatically chooses a destination file name that meets the requirements. But if you prefer, you can change the name before uploading, as long as it only has unaccented letters, numbers, and the allowed symbols.
Note that HyperFluxCMS does not allow uploading a file with a name that already exists on the server. For example, if you want to upload the file "logo.jpg", but there is already a file called "logo.jpg" on the server, the upload of that file will fail and the original file will be kept. To do this, you must first DELETE the existing file and then upload the new one.
If the Web server where the HyperFluxCMS system is installed is Windows, HyperFluxCMS does not differentiate between uppercase and lowercase letters in file names. This means that "logo.jpg", "Logo.jpg", and "LOGO.JPG" are considered the same name.
But if it runs Linux, there may be differentiation. To maintain consistency and compatibility, it is recommended to ALWAYS use lowercase letters in file names. So, if the file is named "LOGO.JPG", use the name "logo.jpg".
If you upload more than one file, and one of them fails due to an invalid or duplicate name, the others will be uploaded normally and should not be uploaded again.
Image files can be shared across multiple posts. For example, if you use your company logo image (e.g., "logo.jpg") or location map on several pages, you only need to upload the image once and reference the file name every time you want or need to.
Maybe you need to update a file with an already existing name. For example, if your company has moved and you want to update the map image, or if you have updated the company logo, you can update the file keeping the same name so you don't have to update all the pages that use it.
For security reasons against accidental file replacement, HyperFluxCMS does not allow uploading an image with a destination name that already exists on the server. So you must first delete the existing file and only then upload the new file.
If you use HyperLite or HyperCode, the uploaded image can be referenced in your posts simply by its name. It is not necessary to add the full path "/gallery/image.jpg" or "https://mysite.com/gallery/image.jpg". Just use "image.jpg" and HyperFluxCMS will insert the rest of the path automatically.
This applies to both HyperCode and HyperLite elements, but not to HTML.
As your site grows, you may have to deal with dozens or hundreds of images. To facilitate image management, you can use the selection filter and display only images whose name contains the filter text.